We recently helped a customer replace a pocket door with a swing door. The pocket door hangs from two sliders that slide within a track attached to the door frame above. The connection between the door and the inner slider had severed and the door was a pain to operate. It was noisy and the customer said that it was hard to use the door without disturbing others sleeping the room at night. It had to go.
The steps we took to complete this work are as follows:
- We removed the trim around the existing pocket door on both sides of the door. The trim was removed carefully so it could be re-used if possible.
- Once the door is more accessible, we titled the door up from the bottom until the sliders disconnect from the track and the door came loose. We put the door aside.
- We then went about unscrewing the top track from the door header, the track could not be removed completely since the screws on the other side of the track were deep within the pocket and thus inaccessible. We just bent the track into the pocket and left it there.
- We then proceeded to remove any door bottom guides and metal structural members.
- We also cleaned up and removed any existing spacers and shims that were used to support the old door frame.
- There were a couple of metal supporting bars that provided the opening of the pocket with some strength. We removed them.
- Next, we measured the new rough opening to determine what size swing door to install in place of the pocket door.
- Once we removed the metal bars that provided strength to the pocket door opening, we had to make that side rigid again to support the new door frame. For that we measured the inner opening size of the pocket and determined the how many studs we need to put in the opening and make that side of the opening strong again.
- Next we went to the nearest home supplies store and bought a pre-hung six-panel interior door and a couple of studs along with any screws and privacy door knob required for the door installation.
- Once back at the customer’s house we first installed the stud in the pocket opening and made that side of the door frame solid.
- Then we test fitted the door frame after removing the door from the frame to see if any other adjustment needed to be made.
- We then secured the door frame to the rough opening while ensuring that the frame was plumb.
- Then we installed the door and tested if the door closes without catching at any place.
- We found that the door does not close fully and so we had to adjust the door frame with additional screws to make the door fit.
- After that, we installed the sticker place, the door knob and tested the door and the locking mechanism again.
- Once the door was working as expected, we removed all the nails and glue from the trim that we removed earlier and installed them back.
- We then filled the large gaps with sparkle and caulked the gaps between the trim, door frame and the walls.
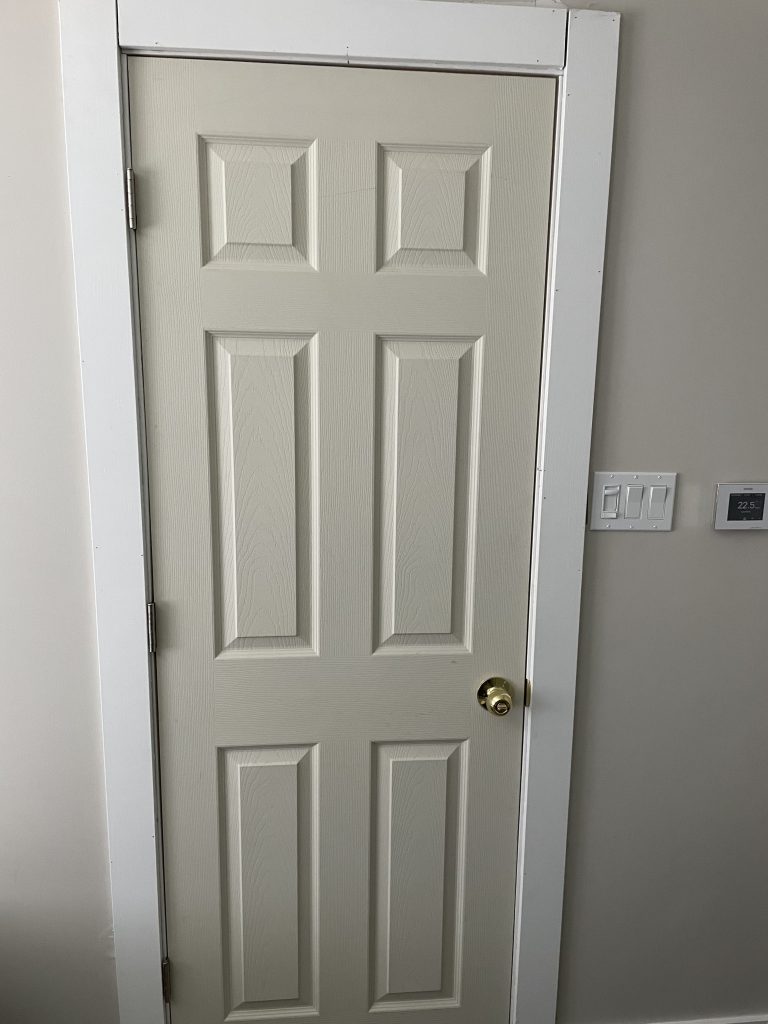
- And finally, took a picture and got paid and left the customer’s place after cleaning up.